The allure of perfectly cooked chicken breast tenders lies in a delicate balance of internal succulence and external crispness, a culinary feat achieved through precise protein denaturation and the Maillard reaction. This quintessential American comfort dish, characterized by its elongated, lean cut, transforms from simple poultry into a textural delight when its natural muscle fibers are gently cooked to tenderness while its seasoned coating develops a golden, flavorful crust.
Complete Recipe Overview
| Property | Detail |
|---|---|
| Dish entity | Crispy Pan-Fried Chicken Breast Tenders |
| Cuisine origin | American cuisine, United States |
| Defining technique | Breading and Pan-Frying |
| Hero ingredients | Chicken Breast Tenders, All-Purpose Flour, Panko Breadcrumbs |
| Critical ratio | Flour:Egg:Breadcrumbs (1:1:1 volume for coating coverage) |
| Prep time | 20 minutes |
| Cook time | 10-15 minutes at 175°C (oil temperature) |
| Rest / chill time | 5 minutes (after cooking) |
| Yield | 4 servings (approx. 12 tenders) |
| Difficulty | Easy - The process is straightforward, but precise temperature control and proper breading technique are key to avoiding dryness or a soggy crust. |
Ingredients: Quantities, Roles, and Critical Ratios
The structural logic of this ingredient list revolves around creating a robust, flavorful coating that adheres effectively to the chicken and crisps beautifully. The critical ratio of flour, egg, and breadcrumbs ensures optimal coverage and texture. A balanced breading station, typically a 1:1:1 volume ratio for the dry and wet components, is essential to achieve a uniform, crunchy exterior without excess build-up or bare spots.
- Chicken Breast Tenders - 600 g - Role: Primary protein, providing a lean, quick-cooking base.
- All-Purpose Flour - 120 g - Role: First layer of the breading, creating a dry surface for the egg to adhere to, and contributing starch for crispness.
- Large Eggs - 2 units - Role: Binding agent, forming a sticky layer between the flour and breadcrumbs.
- Panko Breadcrumbs - 150 g - Role: Final coating, providing superior crispness and an airy texture due to their larger, irregular flakes.
- Salt - 10 g - Role: Flavor enhancer for both chicken and coating, essential for bringing out savory notes.
- Black Pepper - 3 g - Role: Adds pungent, aromatic flavor.
- Smoked Paprika - 5 g - Role: Adds a warm, smoky depth and a pleasing reddish hue to the coating.
- Garlic Powder - 3 g - Role: Provides an umami-rich, aromatic base flavor.
- Vegetable Oil (e.g., Canola, Sunflower) - 500 ml (for frying) - Role: Heat transfer medium for even cooking and fat for flavor and browning.
The Science of Maillard Reaction and Protein Denaturation in Chicken
The culinary magic behind perfectly crispy and juicy chicken tenders lies primarily in two fundamental food science principles: protein denaturation and the Maillard reaction. Chicken breast, being a lean muscle, is rich in protein fibers. When exposed to heat, these proteins (actin and myosin) begin to unfold and coagulate - a process known as denaturation. This changes the chicken's texture from raw and translucent to opaque and firm. The key is to cook it just enough, typically until the internal temperature reaches 74°C, to ensure safety and tenderness without overcooking, which would cause excessive protein contraction, squeezing out moisture and resulting in dry, tough meat.
Simultaneously, as the chicken cooks and the surface of its breading reaches temperatures above 140°C, the Maillard reaction takes center stage. This complex series of chemical reactions between amino acids (from the chicken and flour proteins) and reducing sugars (found in trace amounts in flour and naturally in chicken, intensified by browning) creates hundreds of new flavor compounds. These compounds are responsible for the desirable golden-brown color, the rich, savory aromas, and the distinctive "cooked" flavor profile we associate with fried foods. The starch in the flour and breadcrumbs, when exposed to hot oil, also undergoes gelatinization and dextrinization, contributing to the crisp texture and further browning. The oil acts as an efficient heat transfer medium, ensuring that the surface of the tender quickly reaches the optimal temperature for these browning reactions, while the interior cooks through gently.
Method: Breading and Pan-Frying at Every Critical Stage
This method is optimized for achieving a uniformly crispy, golden exterior and a tender, juicy interior, ensuring maximum flavor and textural contrast.
- Prepare - Breading Station: Set up three shallow dishes. In the first, combine the all-purpose flour, salt, pepper, smoked paprika, and garlic powder, mixing well. In the second, lightly beat the eggs. In the third, place the Panko breadcrumbs. This sequence is crucial for proper adhesion.
- Coat - Chicken Tenders: Pat chicken tenders thoroughly dry with paper towels. This removes excess surface moisture, which is vital for the breading to adhere properly and achieve crispness.
- Dredge - Flour Layer: Take one chicken tender and dredge it fully in the seasoned flour mixture, ensuring it's completely coated. Shake off any excess flour.
- Dip - Egg Wash: Transfer the floured tender to the egg wash, turning to coat completely. Let any excess egg drip off.
- Bread - Panko Coat: Place the egg-washed tender into the Panko breadcrumbs. Press the breadcrumbs gently onto the chicken to ensure full coverage and firm adherence. This creates a thick, crunchy crust.
- Chill - Set Coating (Critical Control Point 1): Place the breaded tenders on a wire rack set over a baking sheet. Repeat for all tenders. Refrigerate for at least 15-20 minutes. This chilling step is non-negotiable as it allows the breading to "set" and adhere firmly, preventing it from falling off during cooking. If skipped, the coating may detach, leading to bare spots and uneven cooking.
- Heat - Frying Oil: Pour vegetable oil into a large, heavy-bottomed skillet or cast-iron pan to a depth of about 2-3 cm. Heat the oil over medium-high heat until it reaches 175°C. You can test the oil by dropping a small pinch of breadcrumbs; they should sizzle vigorously and turn golden in 10-15 seconds.
- Fry - First Batch (Critical Control Point 2): Carefully add 3-4 breaded chicken tenders to the hot oil, ensuring not to overcrowd the pan. Overcrowding will lower the oil temperature too rapidly, resulting in greasy, soggy tenders. Fry for 3-4 minutes per side, or until deep golden-brown and the internal temperature reaches 74°C. The surface should be audibly sizzling and appear deeply golden. If they brown too quickly, reduce heat slightly; if they're not browning, increase heat. The most common failure point is inconsistent oil temperature leading to either burnt exteriors with raw interiors or pale, greasy exteriors. Use a kitchen thermometer to maintain 170-180°C.
- Drain - Excess Oil: Remove cooked tenders from the oil and place them on a clean wire rack set over a baking sheet lined with paper towels to drain excess oil. This prevents them from becoming soggy.
- Repeat - Remaining Batches: Continue frying the remaining tenders in batches, ensuring the oil returns to 175°C between each batch.
- Rest / set / cool - 5 minutes: Let the cooked tenders rest on the wire rack for at least 5 minutes before serving. This allows the internal juices to redistribute throughout the meat, resulting in a more tender and moist bite. If skipped, juices may run out immediately upon cutting, leading to a drier tender.
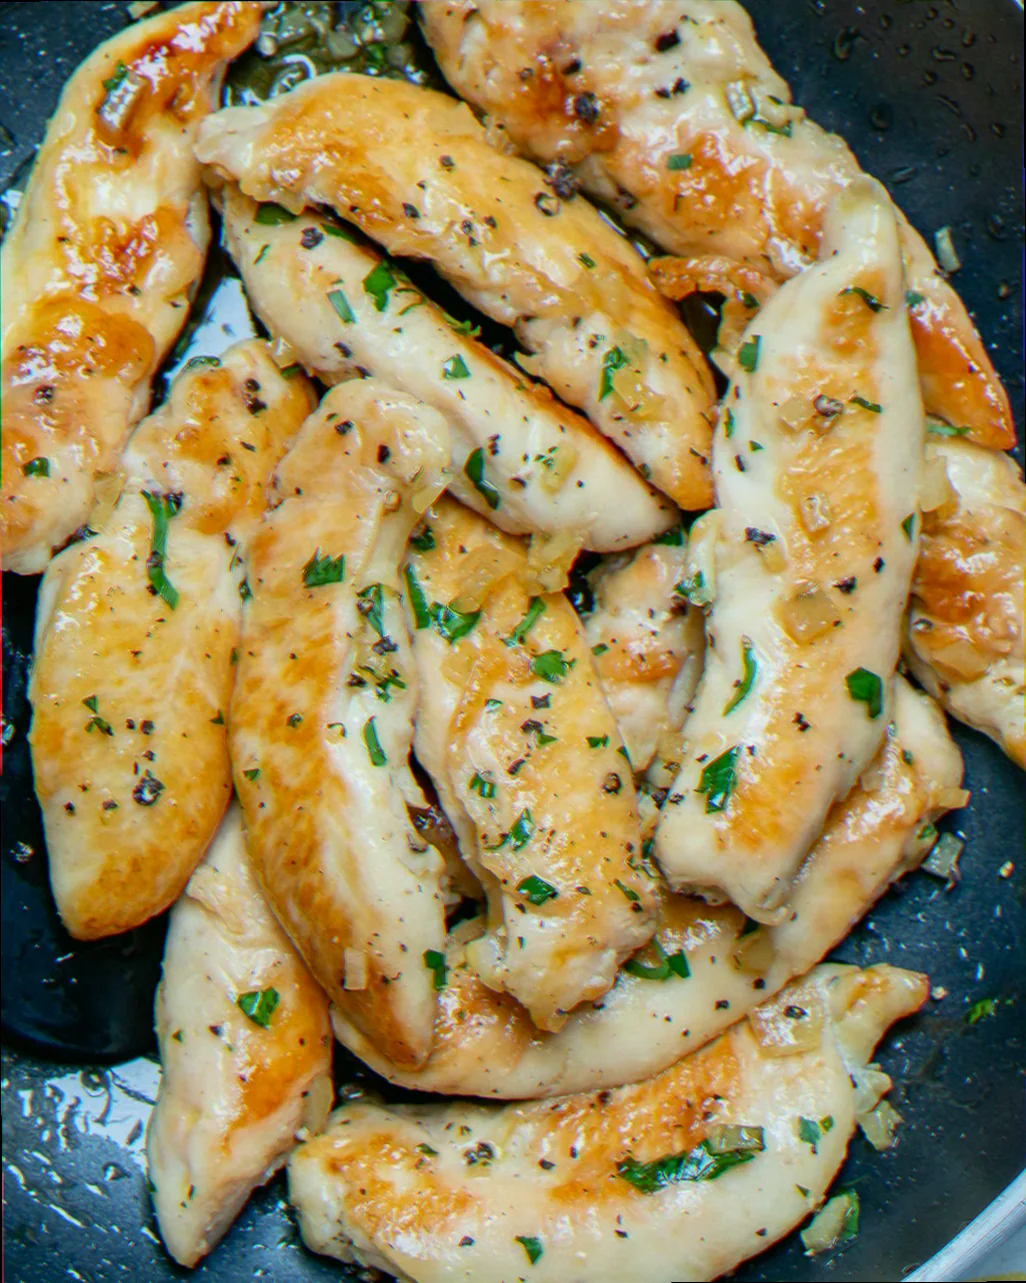
- Plate and serve: Arrange the golden-brown, crispy tenders on a platter, perhaps garnished with fresh parsley for a pop of green, ready to be dipped.
Cultural and Historical Context of American Chicken Tenders
While the concept of breaded and fried chicken has ancient roots, with culinary traditions from Scotland (frying chicken without seasoning) and West Africa (heavily seasoned and fried chicken) converging in the American South, the "chicken tender" as a distinct dish gained significant popularity in the United States from the mid-20th century onwards. Unlike a whole piece of fried chicken, tenders specifically refer to the pectoralis minor muscle, a long, lean strip found under the chicken breast. Its natural shape and tenderness lent itself perfectly to a quick, easy-to-eat format, making it a staple on children's menus and a convenient option for fast-casual restaurants. Its widespread adoption reflects a broader American preference for convenience food and finger foods, evolving from a simple poultry cut to an iconic comfort food item, often served with dipping sauces.
Variations Across Cuisines and Modern Adaptations
- Japanese Kara